A plan is a set of workout days your clients follow in the app. You build it once, then assign a copy to any client.
The Plans page
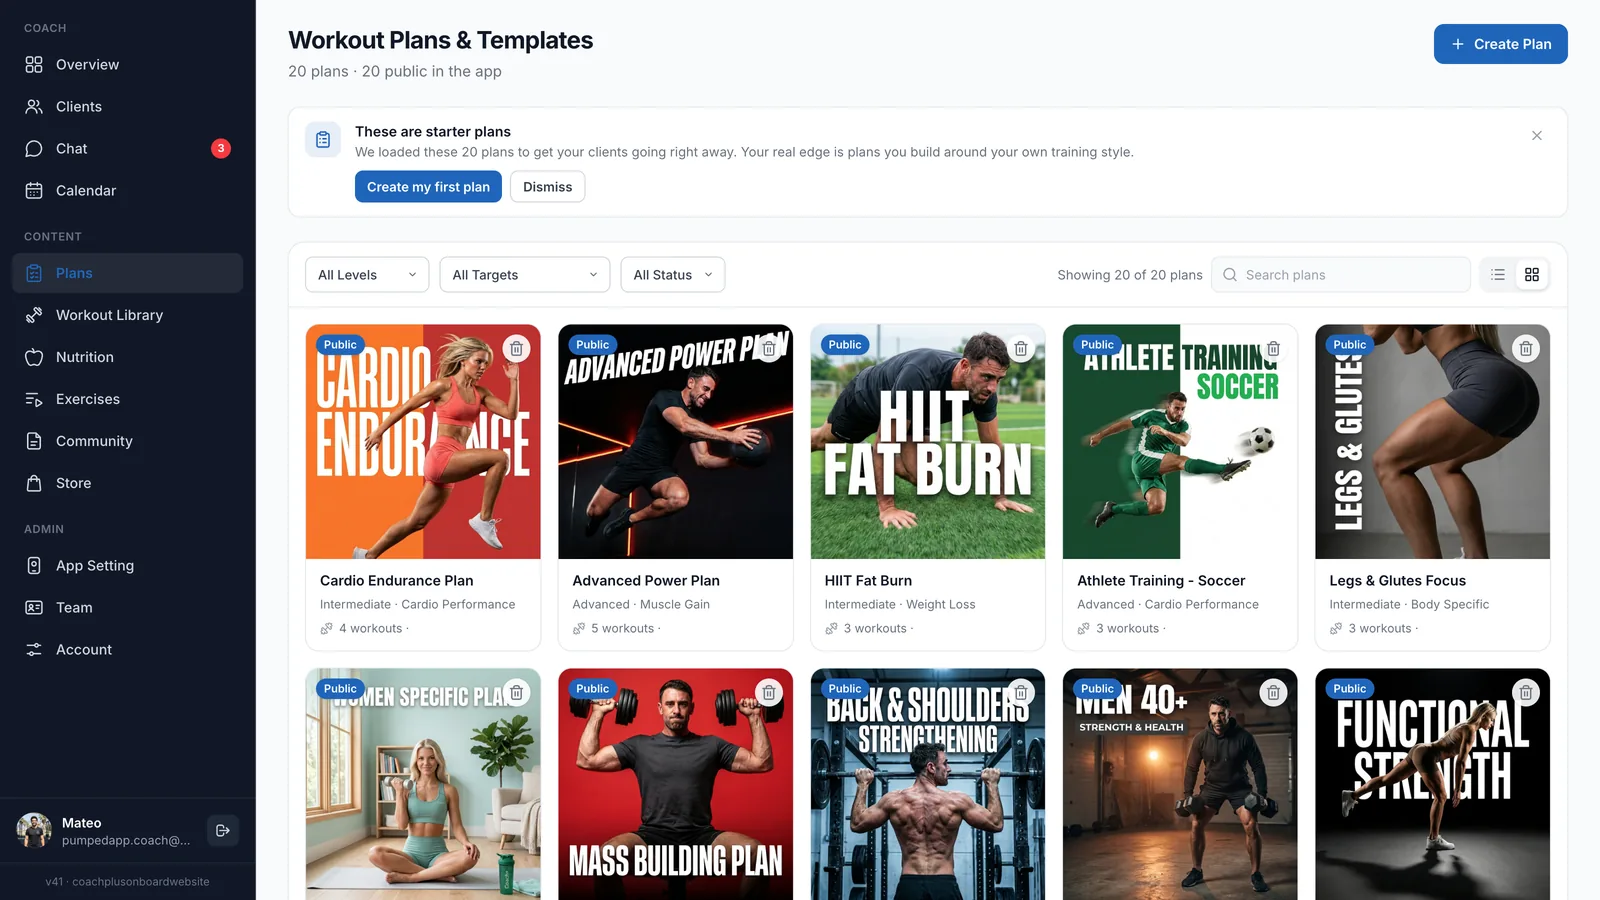
Click Plans in the sidebar. The page is called Workout Plans & Templates and lists every plan in your library.
- Search plans - type part of a plan name to find it.
- All Levels, All Targets, All Status - filter by difficulty, goal, or Public/Private. Clear All resets the filters.
- List / Grid - switch how plans are shown. Grid is the default, and the dashboard remembers your choice.
- In list view, click the Plan, Level, Workouts, or Status column header to sort. Click it again to reverse the order.
- If you have a lot of plans, use the page buttons at the bottom of the list.
Click any plan to open it in the editor.
Starter plans
New accounts come with ready-made starter plans, so clients can begin training right away. While you have 20 plans or fewer, a These are starter plans banner appears at the top. Click Create my first plan to start your own, or Dismiss to hide the banner.
Deleting a plan
Click the trash icon on a plan, then confirm. The plan and its workouts are permanently removed from your library. Clients who already got this plan keep their own copy. This can't be undone.
Create a new plan
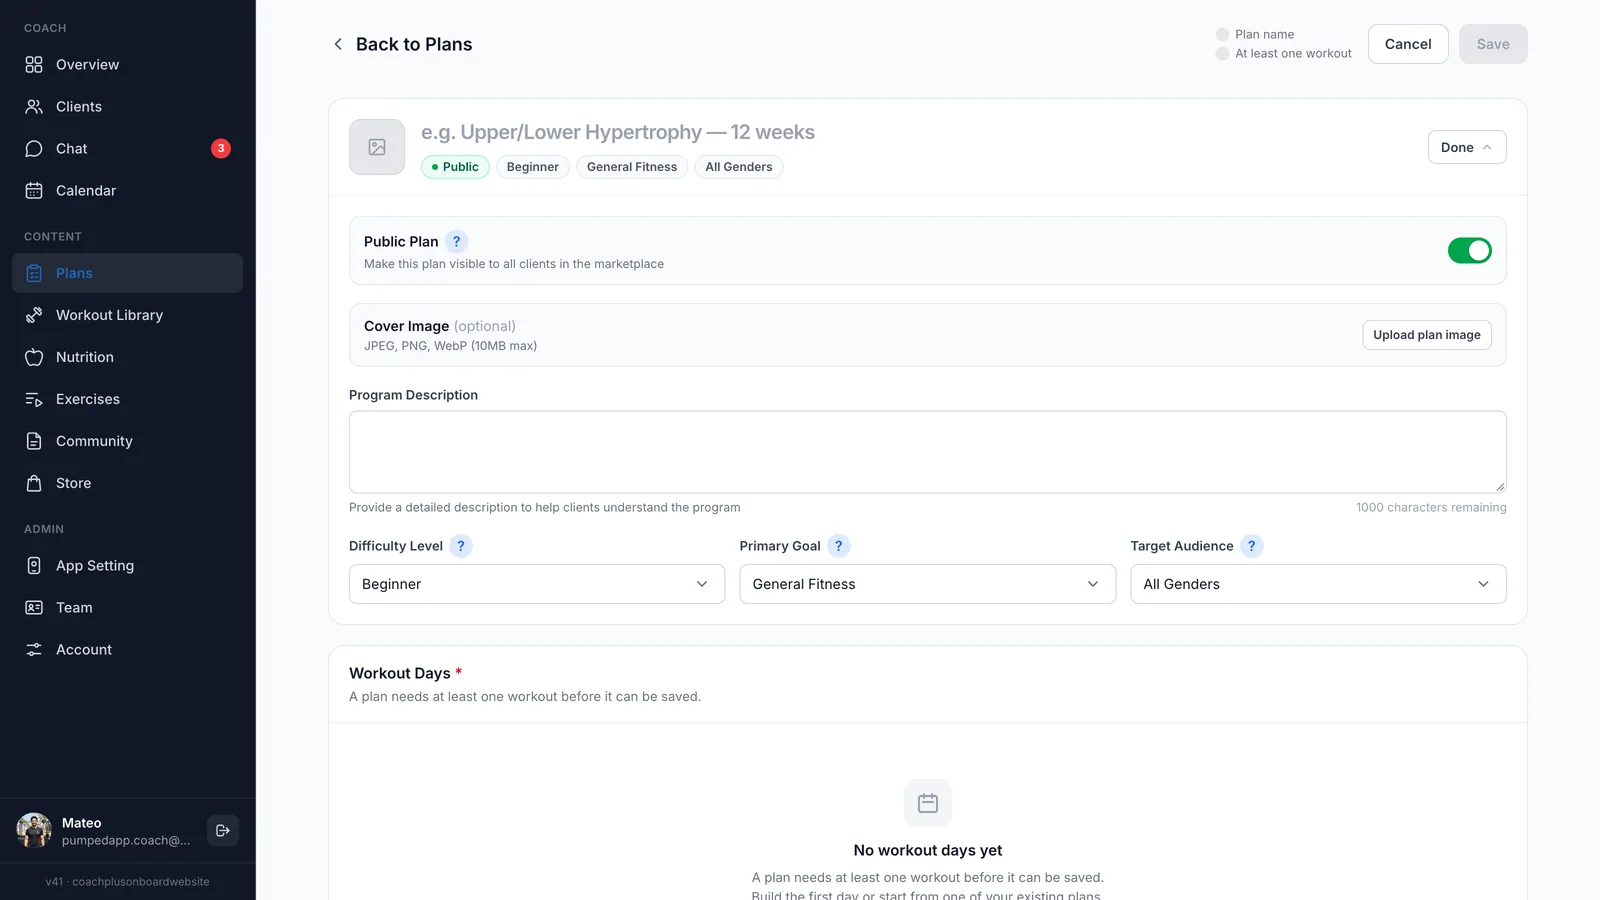
Click Create Plan at the top of the Plans page. An empty plan opens. The editor has two cards: Plan details at the top and Workout Days below it.
Plan details
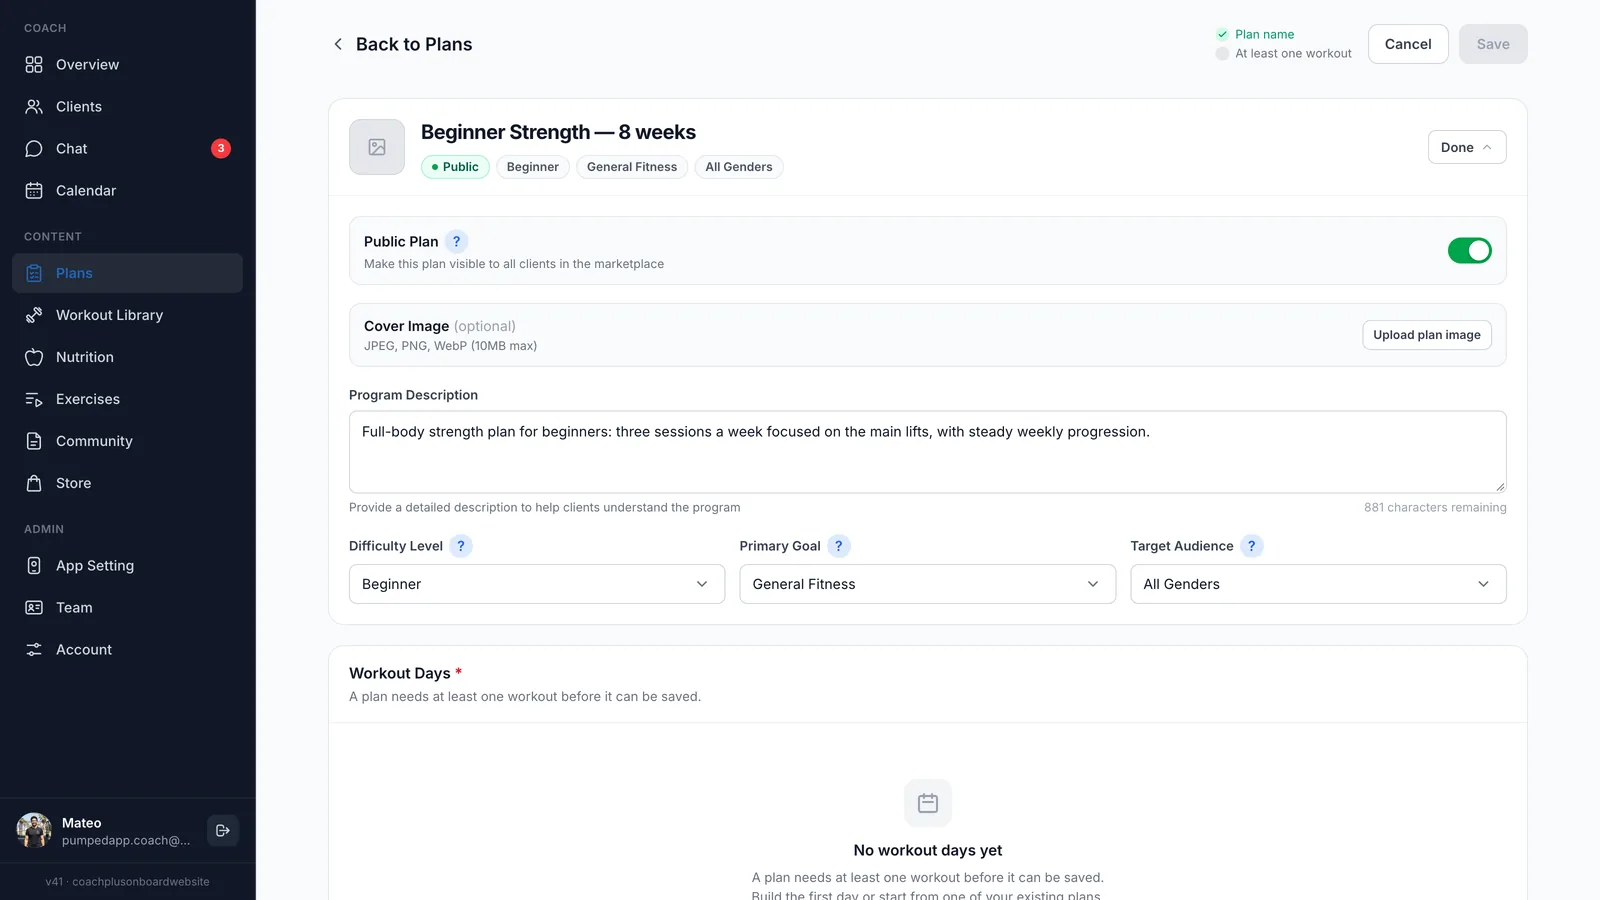
Type the plan name directly in the title line at the top of the card. Click the square image on the left to upload a cover image. Under the name you'll see small chips with the plan's visibility, difficulty, goal, and audience. Click any chip, or Edit details, to open the full details. Click Done to close them again.
- Public Plan - when on, the plan is visible to all clients in the marketplace. When off, only you and the clients you assign it to can see it. New plans start as Public, so turn this off if you want the plan private.
- Cover Image - Upload plan image, Replace image, or Remove image. JPEG, PNG, or WebP, up to 10MB.
- Program Description - optional. If you write one, it needs at least 10 characters (up to 1,000). A counter shows how many characters are left.
- Difficulty Level - Beginner, Intermediate, or Advanced.
- Primary Goal - General Fitness, Muscle Gain, Weight Loss, Cardio Performance, or Body Specific.
- Target Audience - All Genders, Men, or Women.
Tip
Workout Days
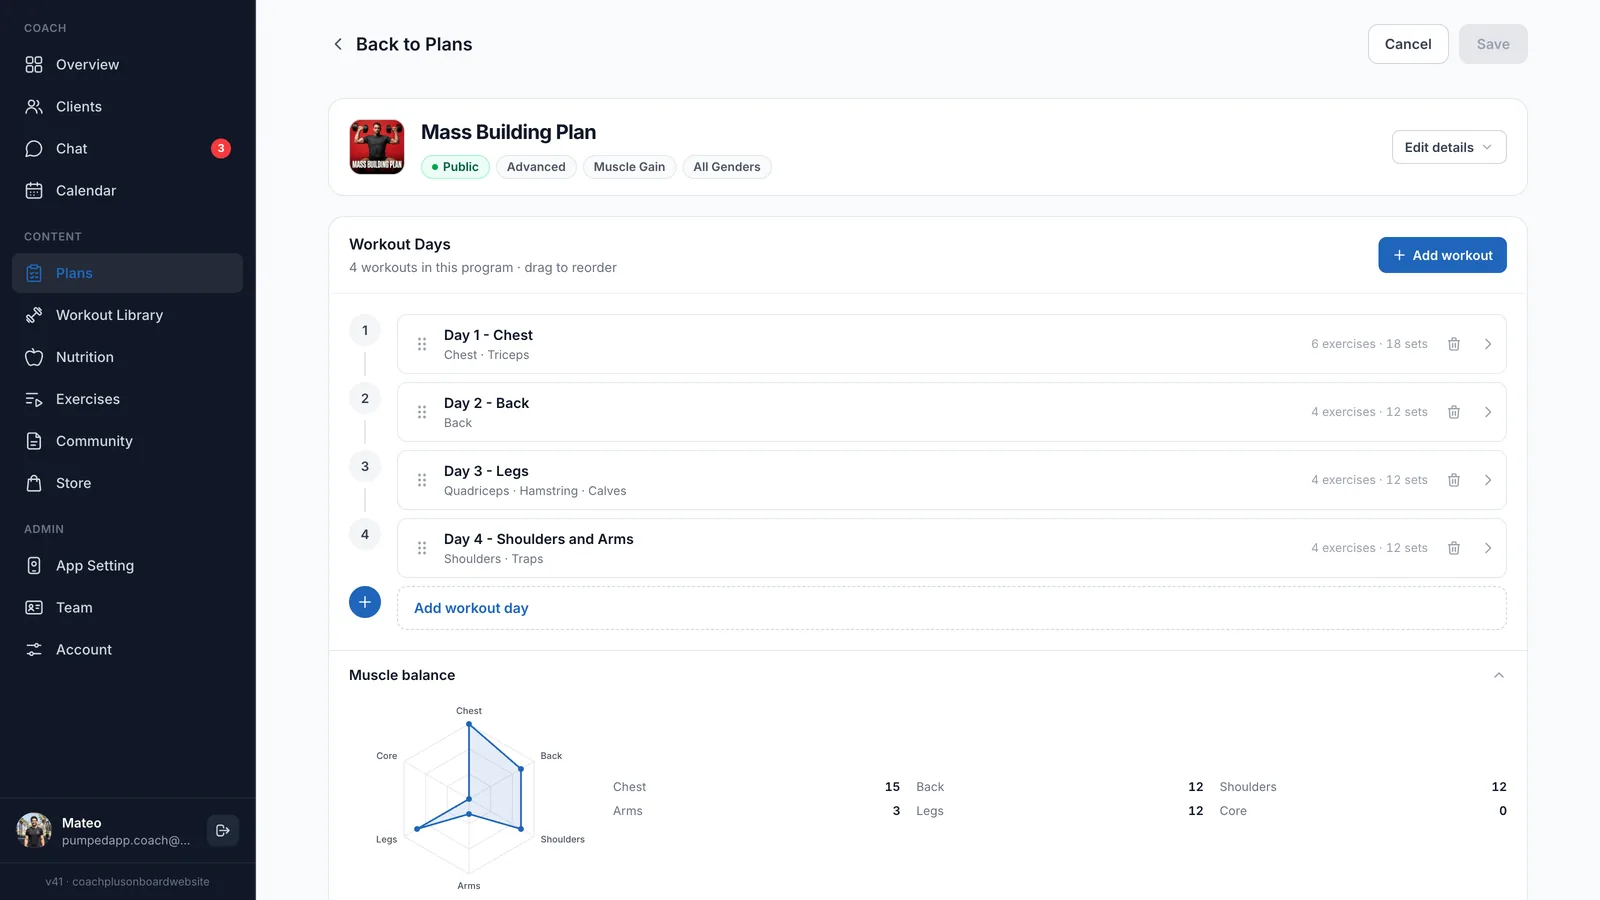
A new plan starts with no workouts. Click Add first workout to build the first day. After that, use Add workout at the top of the card or Add workout day at the bottom of the list.
Each workout appears as a numbered row with its name, the muscle groups it trains, and a count such as "5 exercises · 15 sets". Click a row to open that workout.
- Reorder - drag a workout by the dotted handle on its left. Click Save on the plan to keep the new order.
- Delete - click the trash icon on the row and confirm. The workout and its exercises are deleted right away and permanently. A plan always needs at least one workout, so you can't delete the last one.
- Muscle balance - on larger screens, a chart at the bottom of the card shows how the plan spreads across Chest, Back, Shoulders, Arms, Legs, and Core. Click its title to show or hide it.
Building a workout
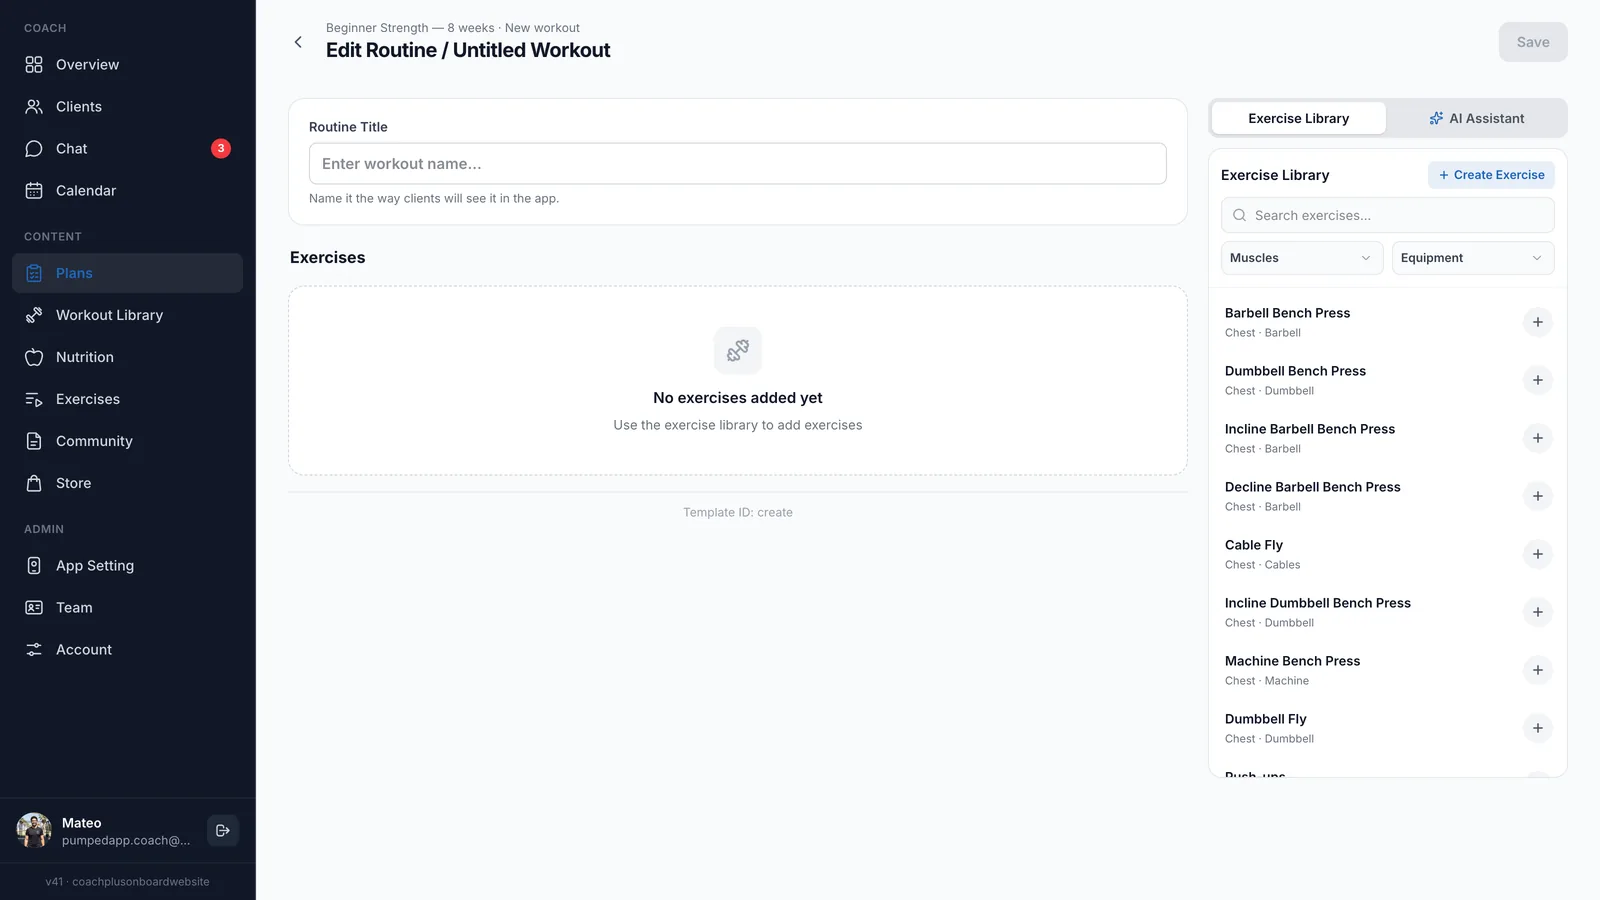
When you open or add a workout, the workout editor takes over the page. The header reads Edit Routine / the workout name, with the plan name and the workout's position (for example "Workout 2 of 5") above it.
Start with Routine Title - this is the name clients see in the app, for example "Chest Workout". It needs at least 3 characters.
Adding exercises
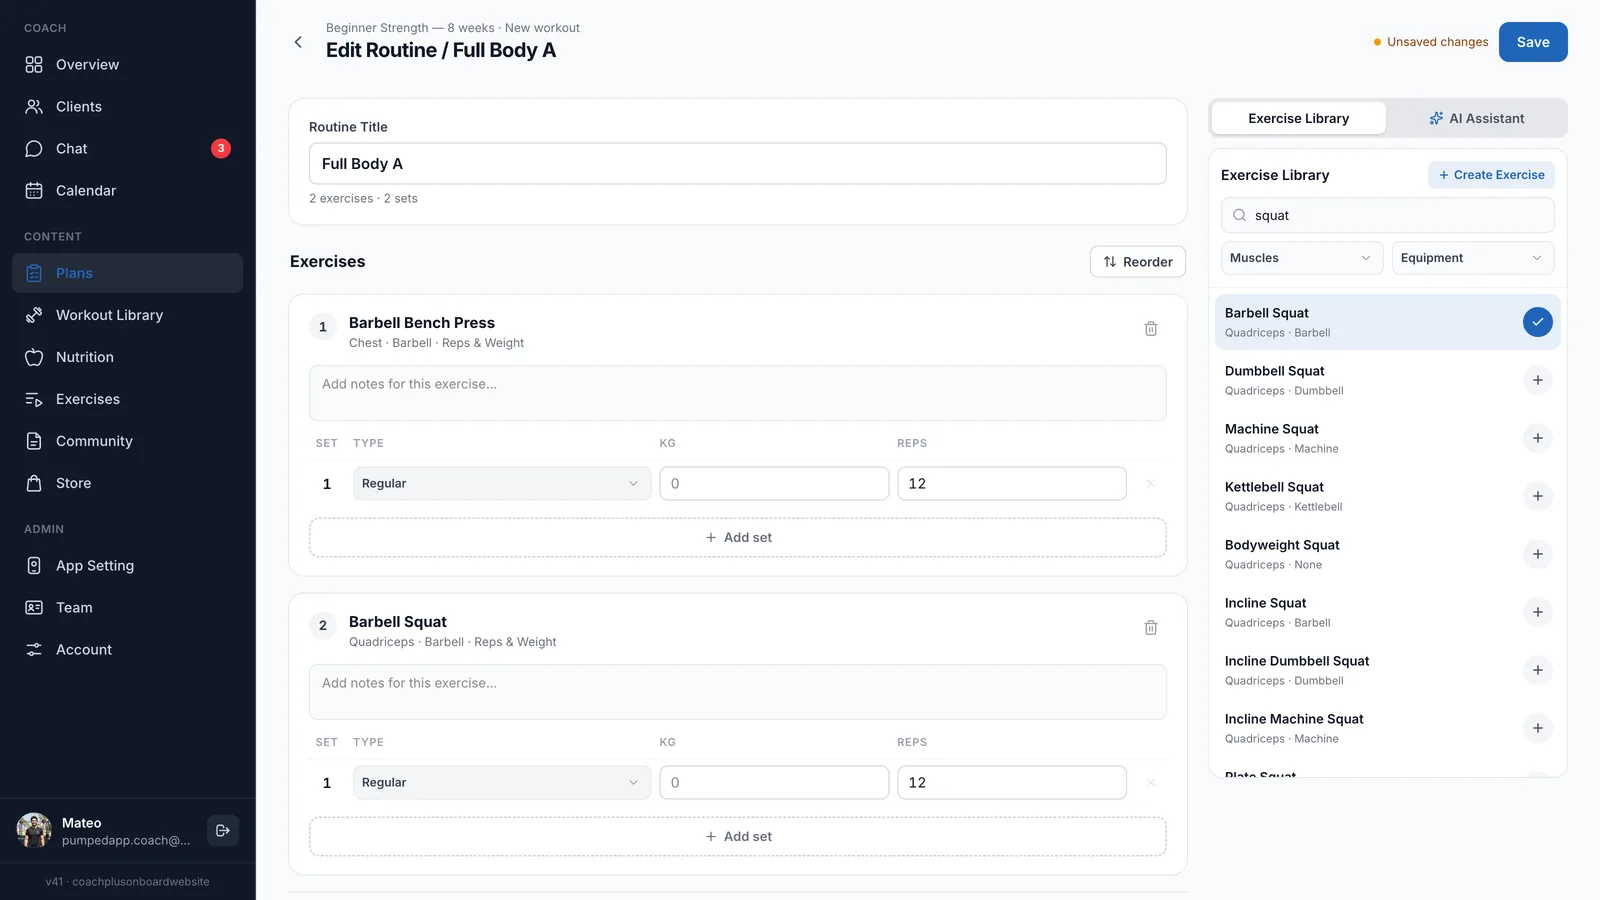
On a computer, the Exercise Library panel is always open on the right. Search by name, or narrow the list with the Muscles and Equipment filters. Click an exercise (or its + button) to add it. Exercises already in the workout show a check mark.
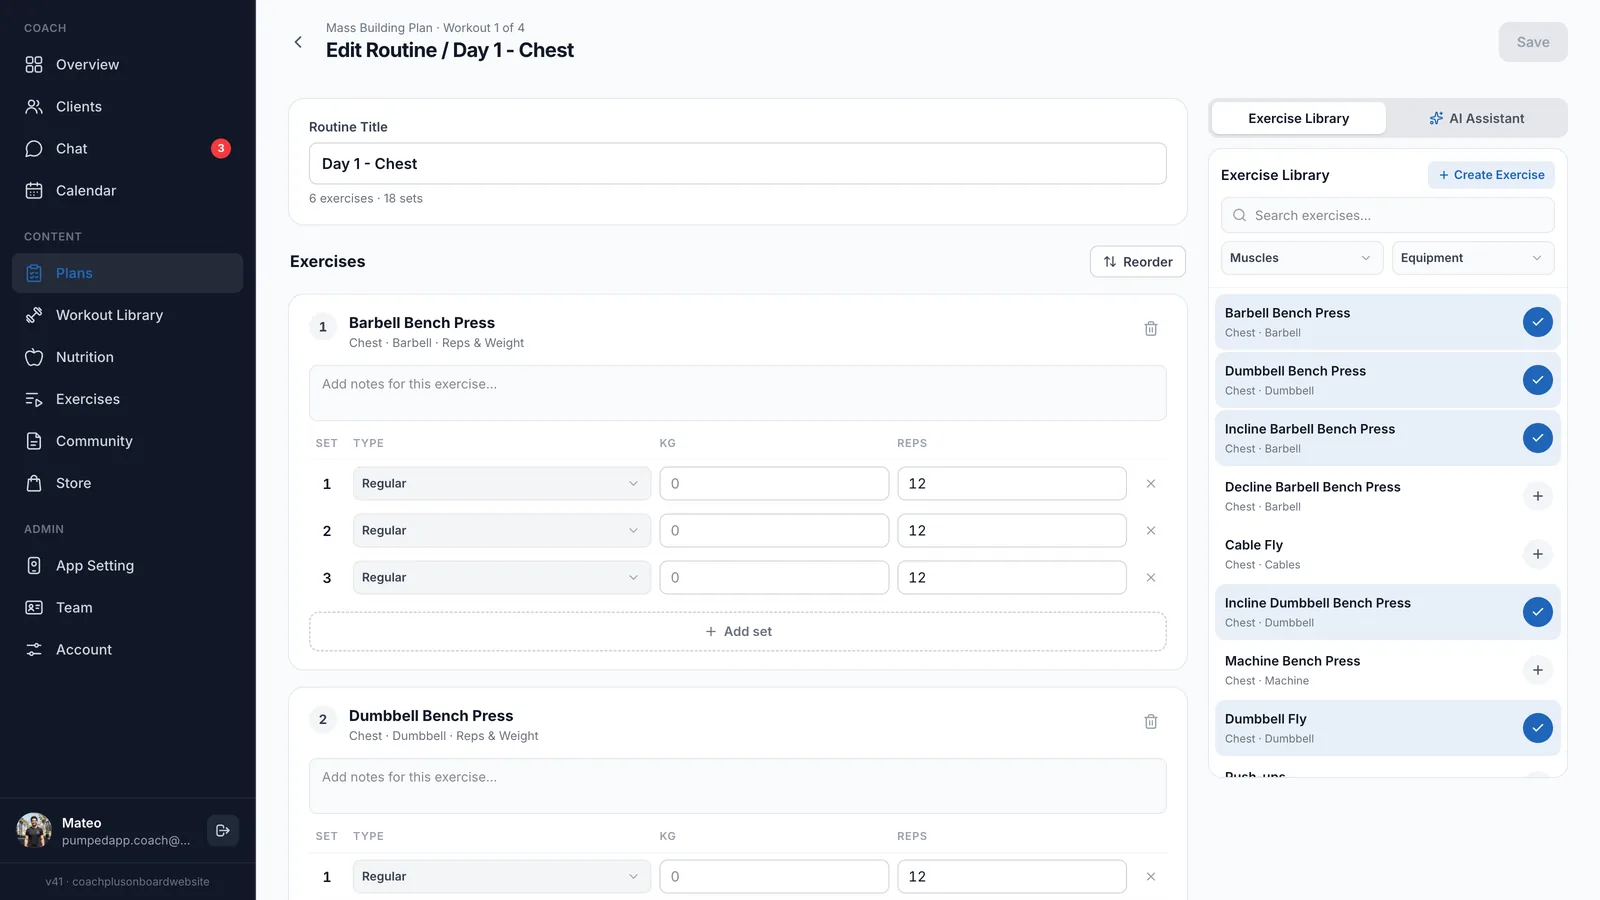
On a phone, tap Add Exercise below the workout to open the library, then tap an exercise to add it.
Can't find a movement? Click Create Exercise at the top of the library panel, fill in the form, and save. The new exercise is added to the workout right away. See Edit or create an exercise for the form fields.
A workout can hold up to 20 exercises, and each exercise can be added only once.
AI Assistant
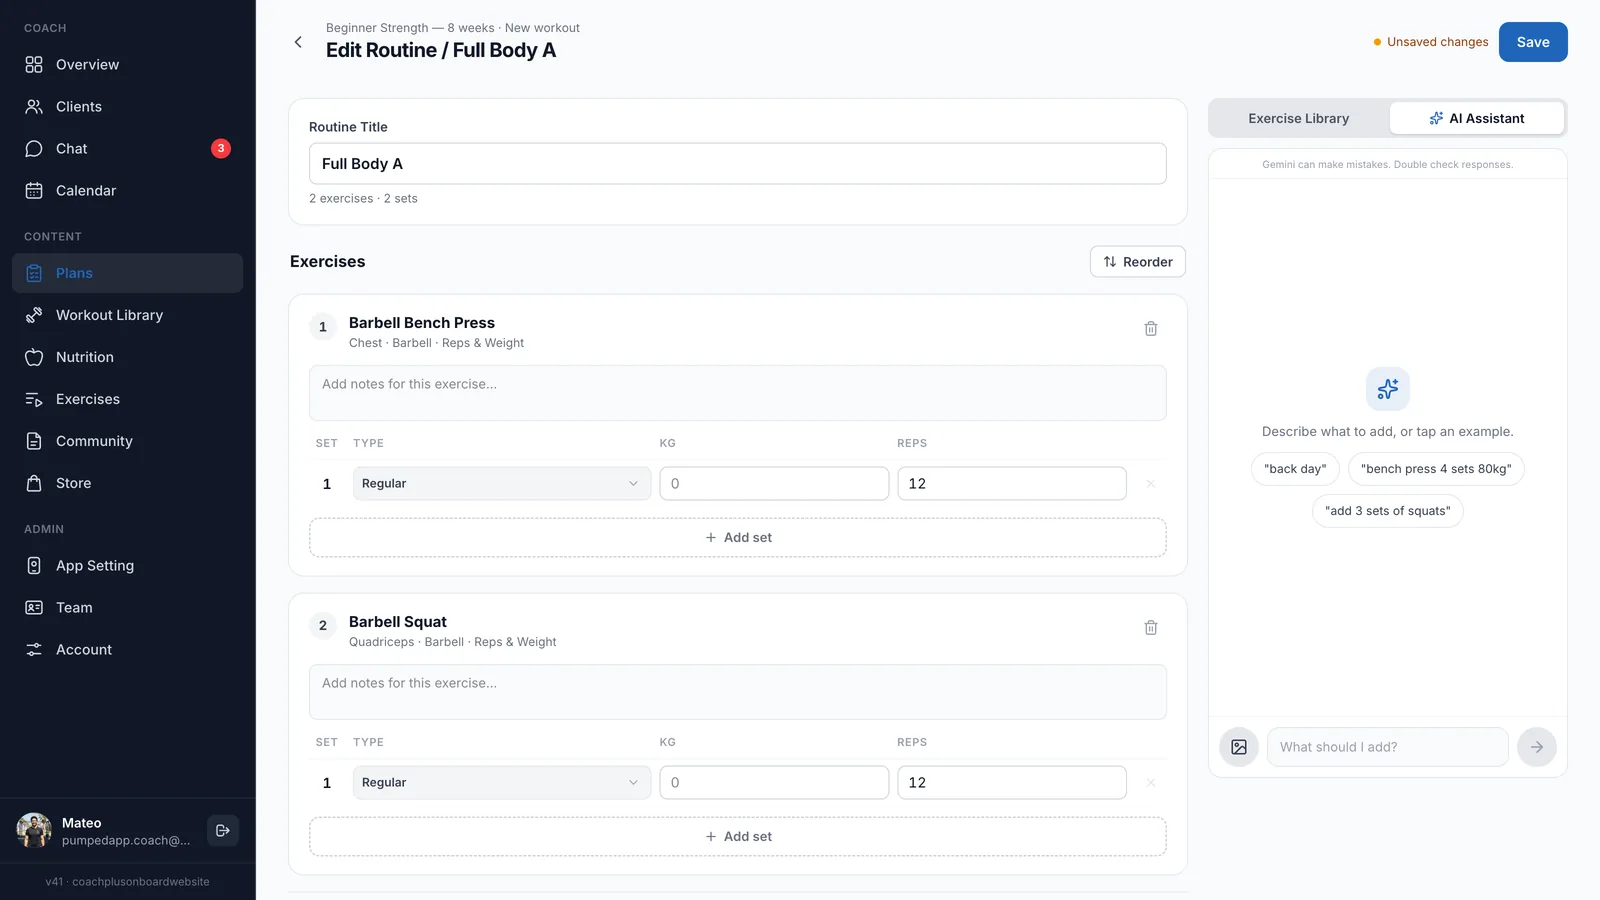
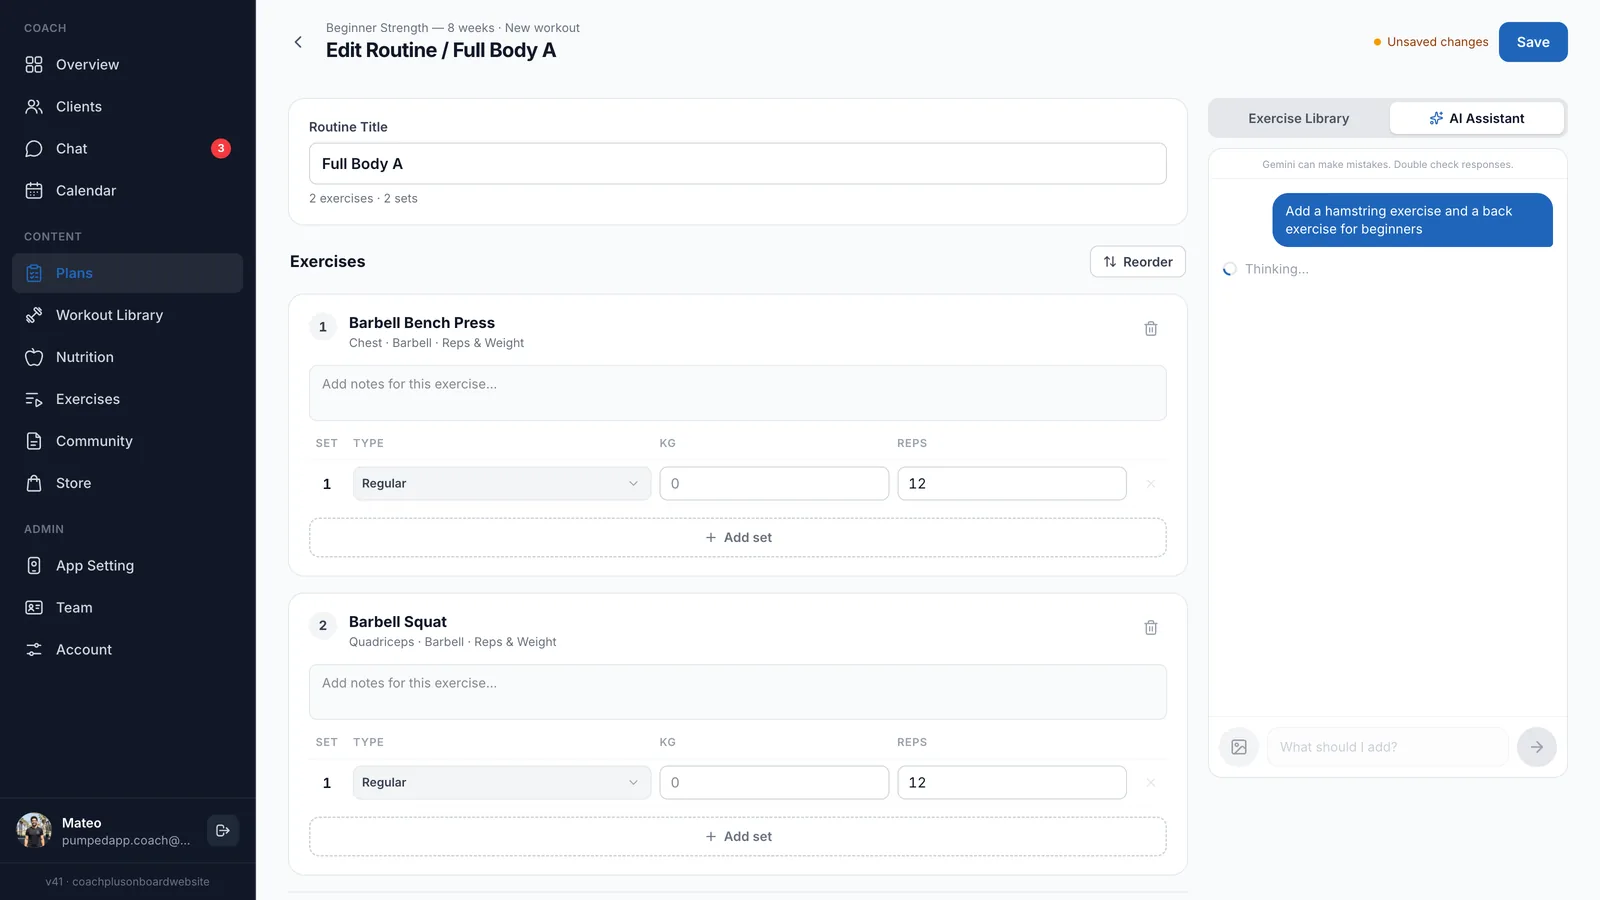
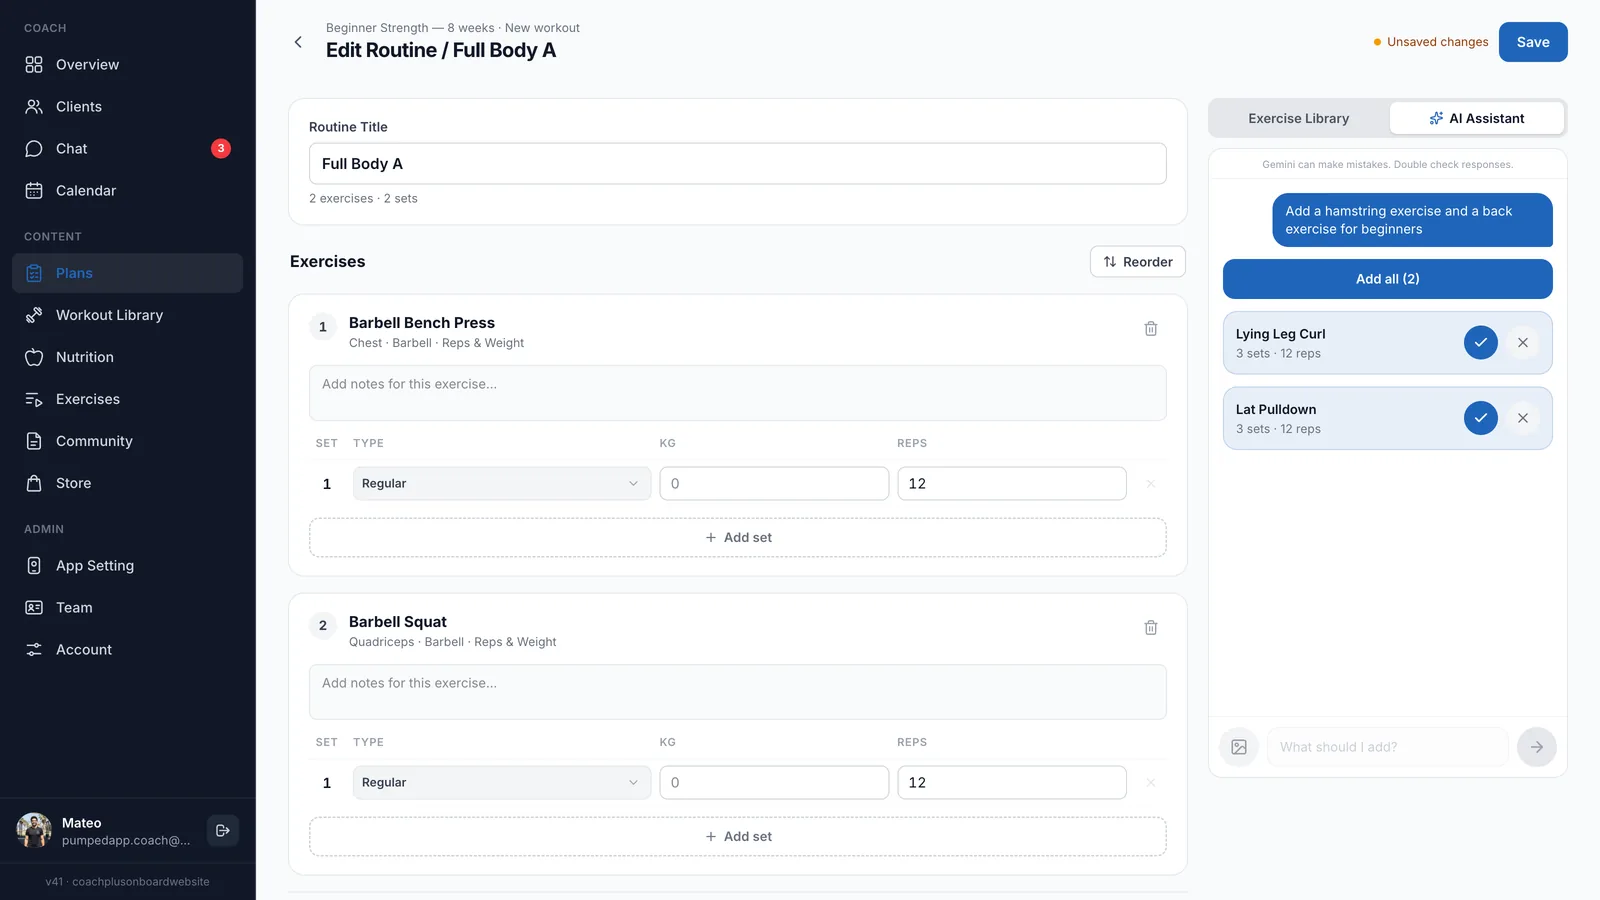
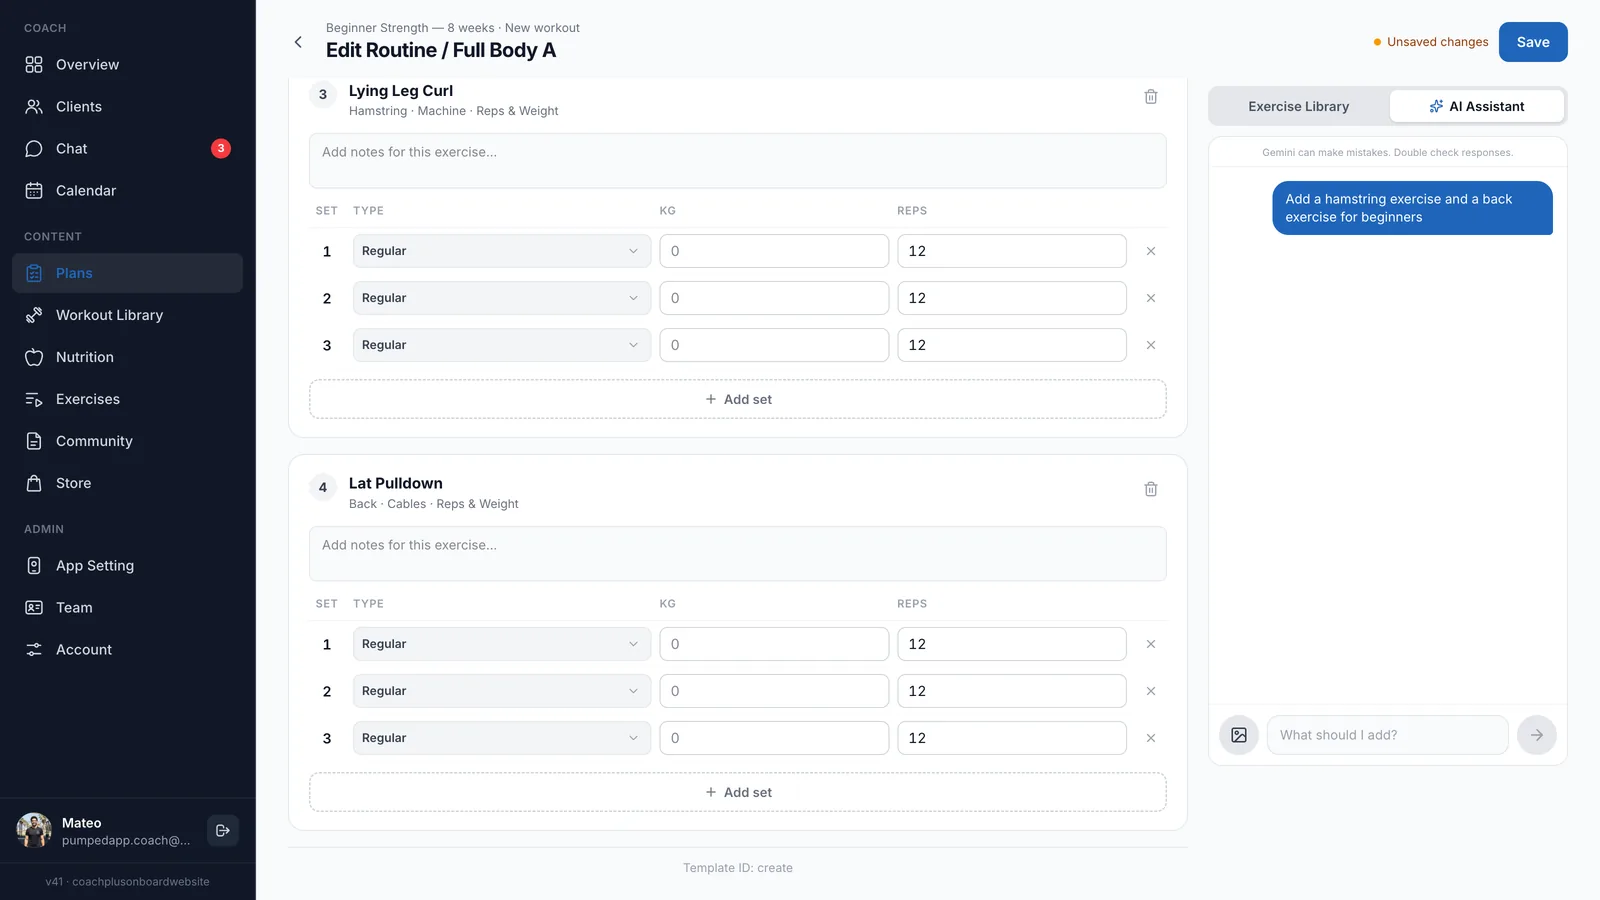
If the AI workout generator is part of your Coach+ plan, an AI Assistant tab appears next to the Exercise Library (on a phone, it's a button below the workout). Describe what you want in plain words, such as "back day" or "bench press 4 sets 80kg", or tap one of the examples. The suggestions show up as cards. Add them one by one, or click Add all. Always check the result before saving.
Sets
Each exercise is a numbered card with its name and its muscle, equipment, and type. Every set is its own row, and a new exercise starts with one set.
- Add set - adds a new row that copies the values of the set above it.
- TYPE - Regular, Warmup, Dropset, or To Failure.
- The value columns depend on the exercise type: KG and REPS for Reps & Weight, TIME and DISTANCE (m) for Time & Distance, TIME for Time, and KG and STEPS for Steps & Weight. Time is entered as minutes:seconds.
- Click the trash icon on a row to delete a set. Every exercise needs at least one set.
Use the notes box at the top of each exercise card (Coach Notes) for cues or instructions for your client. To remove an exercise, click the trash icon on its card. A workout must keep at least one exercise.
Changing the exercise order
Once a workout has two or more exercises, a Reorder button appears next to the Exercises heading. It opens Reorder Exercises, where you drag exercises into the order you want. Click Done to apply, or Cancel to leave the order as it was.
Saving the workout
Each workout has its own Save button in the editor header. It turns active once you change something. To save, the workout needs a name of at least 3 characters, at least one exercise, and at least one set for every exercise. If something is missing, a message tells you what to fix. After saving you'll see Workout saved successfully! and you stay in the editor. Click the back arrow to return to the plan.
Saving the plan
Click Save at the top of the plan editor (on a phone, it's in the bar at the bottom of the screen).
- For a new plan, Save stays gray until the plan has a name of at least 3 characters and at least one workout. A small checklist near the button (Plan name, At least one workout) turns green as you complete each one.
- For an existing plan, Save becomes active as soon as you change something.
- After saving, a green confirmation appears and you stay in the editor so you can keep working.
If you click Cancel or Back to Plans with unsaved changes, you'll be asked to choose Keep editing or Discard changes.
Info
What's Next?
Now that you can create plans, learn how to:
- Assign Plans to Clients - Give each client their own copy of a plan
- Manage Exercise Library - Browse, edit, and add custom exercises
- Training Volume - Monitor lifting volume and trends