This guide walks you through adding clients from the dashboard. First, an important distinction: when someone downloads your app and creates an account, that does not use your coaching capacity. You can have unlimited people download the app and sign up; your capacity limit applies to how many clients you actively coach through the dashboard, not to total app installs or accounts.
Step 1: Navigate to the Clients Page
Click the Clients menu item in the sidebar to open Clients Management.
Then open the Leads tab. That list is where uncoached users appear—people who downloaded the app and created an account but are not yet paired with you as their coach. Use All Clients to see everyone, or Coached for people already on your roster.

Step 2: Open a lead and add them (with optional notes)
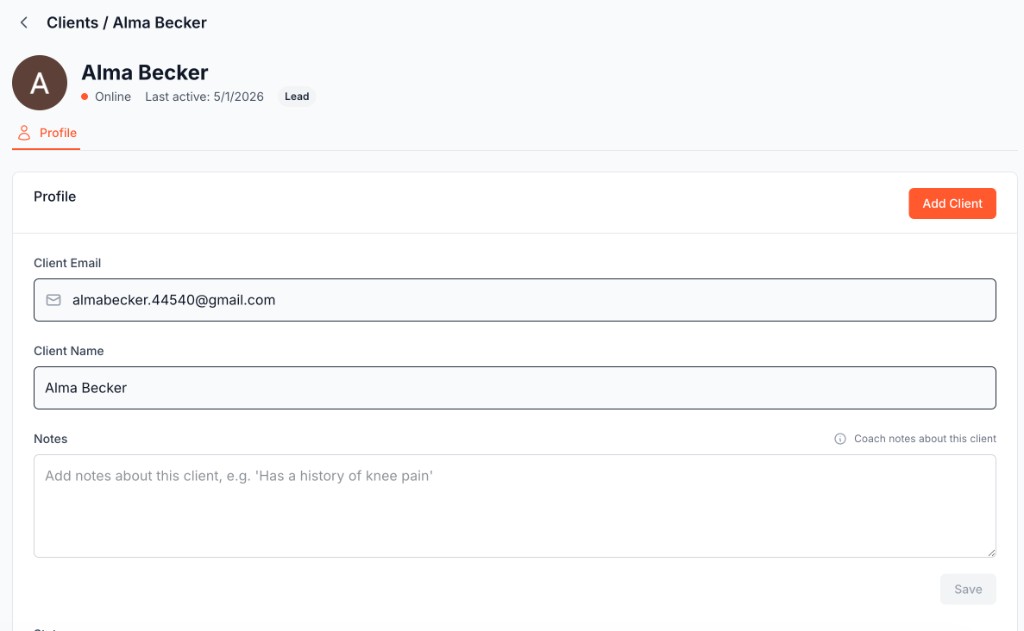
In the Leads tab, click a person to open their profile. You'll see a Lead badge (they have the app but are not yet a coached client). On the Profile tab, review Client email and Client name, add Notes if you want—private coach notes such as injuries, goals, or preferences—then click Add Client to pair them with you. Use Save when you only need to store note changes first.
Info
What's Next?
Now that you've added your first client, you can:
- Assign them a workout plan from the Plans section
- Create a meal plan in the Meal Plan tab
- Set up meetings using the Calendar
- Review training volume and check-ins from their client profile
Troubleshooting
Can't add more clients?
You may have reached your plan's client limit. Check your account tier and contact support to upgrade.